Manage Users
You can add, edit, and disable users in the workspace. This helps maintain a more collaborative and effective environment.
Add Users
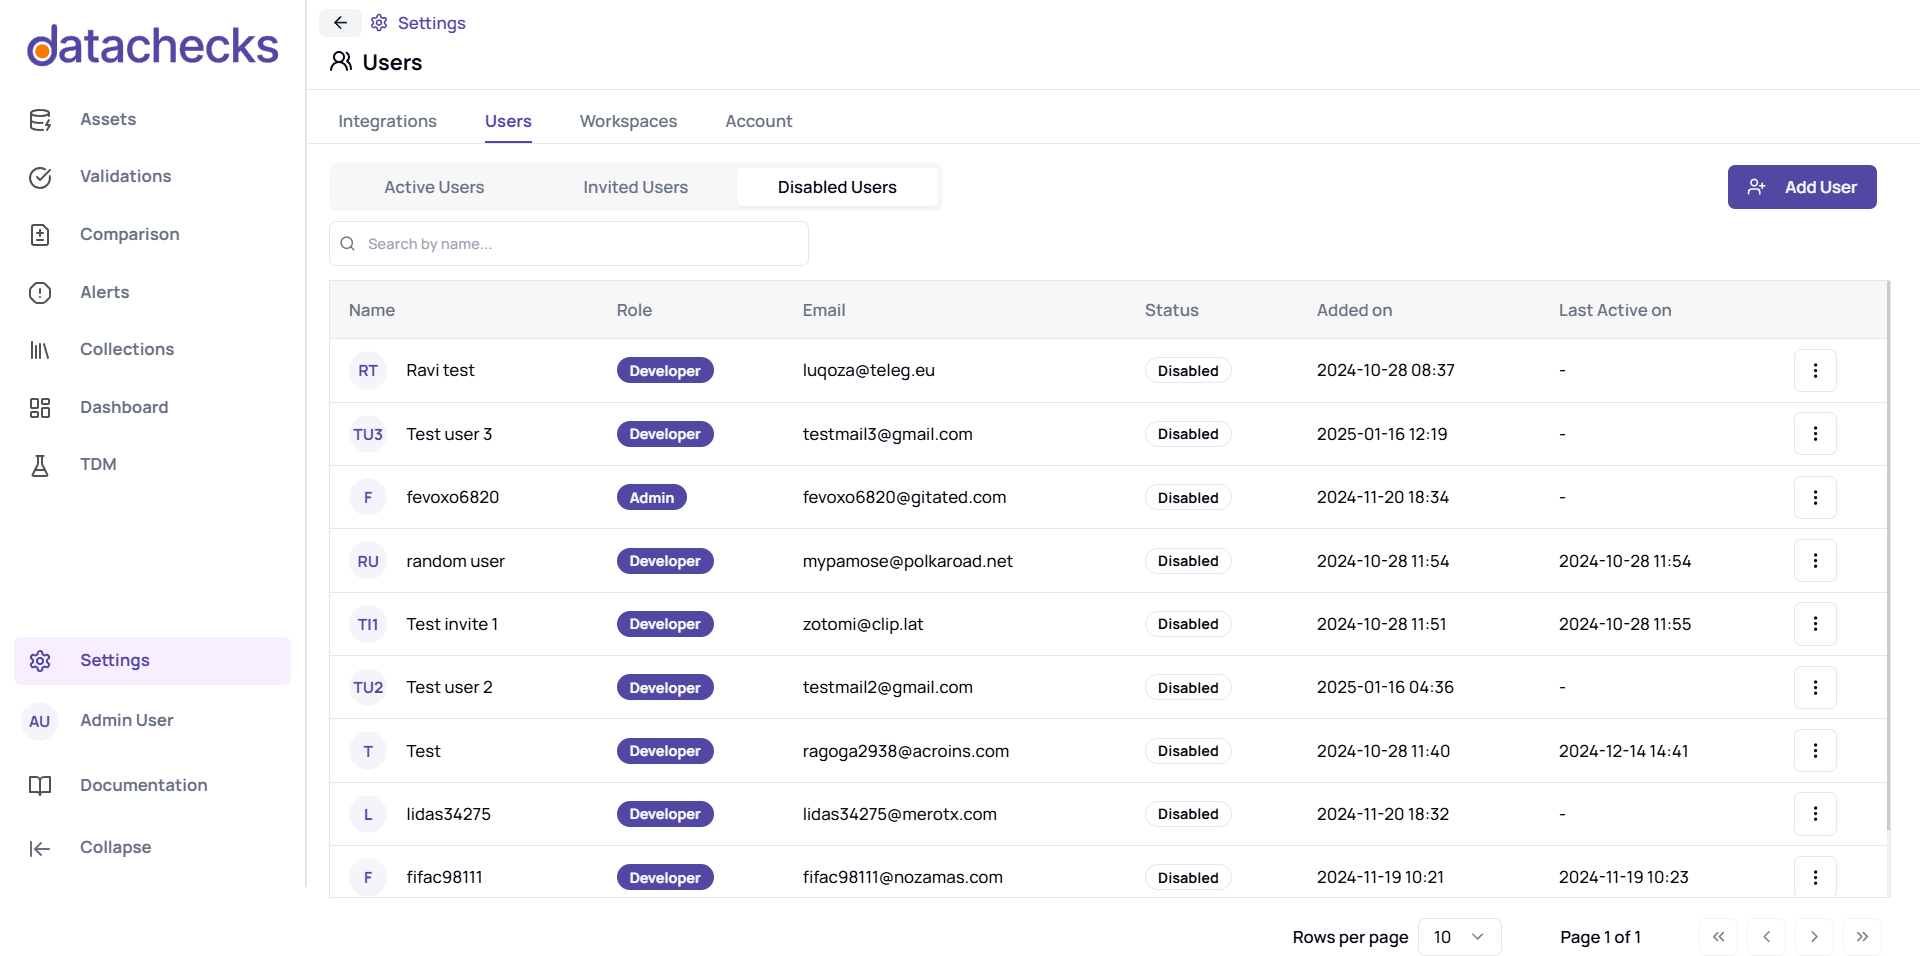
- To add new users, start by navigating to Settings > Users via the left-hand sidebar.
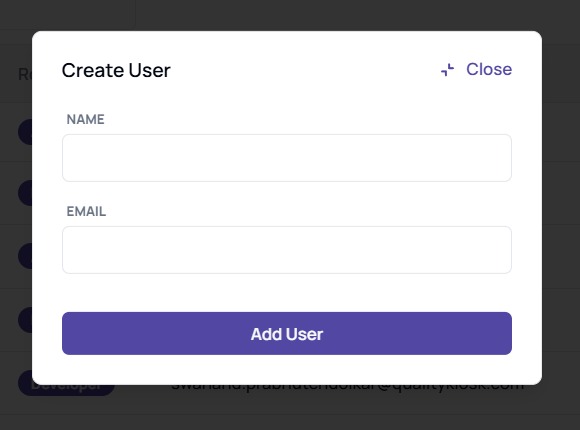
- Click Add User, and a configuration pop-up will appear for creating a user. Enter the following details:
-
Name
-
Email

-
- Click Add User
After adding users, they receive an invitation request. You can view pending invitations in the Invited Users tab and accepted users under the Active Users tab.
Edit User
- To edit users, start by navigating to Settings > Users via the left-hand sidebar.
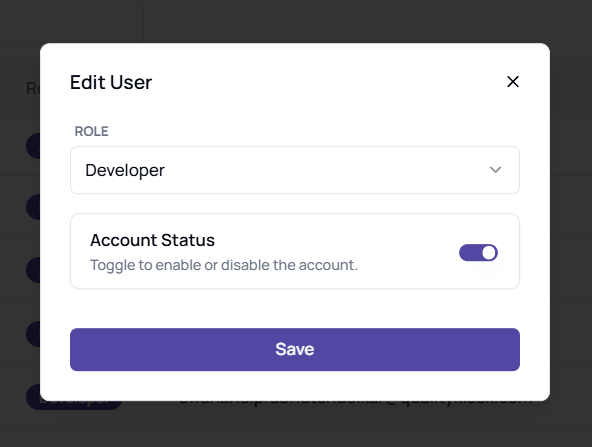
- Click on the ellipsis next to the user you want to edit, then select Edit. Here, you can change:
-
Role: You can set it to either Admin or Developer. The default role is set to Developer.
-
Account Status: Change the status by toggling the option to enable or disable the user.

-
- Click Save to apply changes.
Once saved, you will see the updated role reflected.
You can view disabled users in the Disabled Users tab, where you also have the option to enable them again.

Only admins can enable or disable users. To ensure proper access control, assign admin roles only to trusted individuals.
Reset User Password
Only Admins can reset a user's password. Ensure that the new credentials are shared securely.
-
Navigate to Settings > Users in the left-hand sidebar.
-
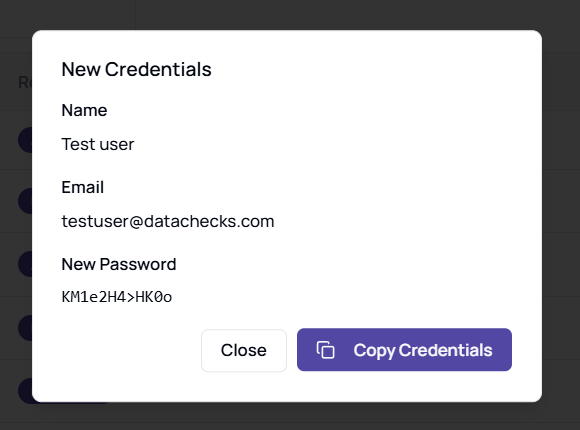
Click the ellipsis (⋮) next to the user and select Reset Password.
-
A new set of credentials will be generated and displayed in the UI, which admins must share manually.

Updated 8 months ago
